Cat Camera Placement
Cat Camera Placement
Aim your camera at your cat’s primary activity zone, one that includes a vertical perch, and mount it at a height suitable to capture both floor and climbing activities, angled slightly downward. Then test the shot before you commit to permanent mounting. Keep the lens away from bright windows and secure any loose cords, since curious paws and glare cause more bad footage than weak hardware ever does.
TL;DR:
- Mount cameras at mid-height, between four and six feet, angling slightly downward to capture both floor and elevated cat activity.
- Focus on placing cameras in predictable, high-traffic zones like feeding stations, window perches, and favorite sleeping areas for the most insightful footage.
- Use painter’s tape to test placement spots and ensure Wi-Fi strength before drilling or mounting permanently to avoid unnecessary holes.
- Prioritize cameras with low-light, motion detection, and wide-angle features tailored to the room’s lighting conditions and layout.
- Avoid common placement mistakes such as pointing cameras directly at bright windows, near splash zones, or without testing at night to prevent poor-quality footage.
Table of Contents
- Where Should You Place a Cat Camera for the Best Coverage?
- What Height and Angle Work Best for Cat Cameras?
- What Placement Mistakes Hurt Cat Camera Footage?
- How Many Cameras Do You Actually Need?
- Which Camera Features Matter for Your Placement Plan?
- How Do You Set Up and Test a Cat Camera Before Trusting It?
- Why Furniture Placement Comes Before Camera Placement
- Should You Monitor Outdoor Cats the Same Way?
- What Privacy Rules Apply to Indoor Cat Cameras?
- Does Camera Type Change Based on Where You’re Placing It?
- What Do Most Cat Owners Get Wrong About Camera Placement?
- Which Products Make Camera Placement Easier?
- Sources
- FAQ
Where Should You Place a Cat Camera for the Best Coverage?
The right spot depends on where your cat actually spends time, not where the wall happens to have an outlet. A practical placement range for pet cameras tends to run lower than standard security cameras, and because cats move vertically as much as horizontally, your camera needs to see both the floor and whatever they climb.
Start by mapping the rooms your cat actually uses, then match each camera to one of these priority zones:
- Window perches. Cats spend hours here, and the soft, even light usually makes for clear footage, as long as you angle the lens to avoid shooting directly into the glass.
- Cat trees and shelves. Vertical structures concentrate climbing, stretching, and napping behavior in one predictable column of space, which makes them easy to frame well.
- Feeding stations. Meal times are consistent and short, so a camera here catches routine, appetite changes, and any food-guarding between pets.
- Favorite beds or hideaways. A single trusted nap spot often gets more use than the “official” cat bed you bought, so watch where your cat actually sleeps, not where you expect them to.
- Doorways and balcony access. Useful if you have an indoor/outdoor cat or want to track comings and goings near a cat door.
For tall furniture, angle the camera slightly upward from a mid-level shelf, or place it across the room at a height that covers the full tower in one frame. A wide corner shot is often enough for a single-zone room. In a room with more visual clutter, though, the extra coverage pays off.
Before you drill anything, use painter’s tape as temporary markers to test a spot for a day. It costs you nothing and saves you from a permanent hole in the wrong place. Feeding areas and window perches tend to be the two spots owners find most rewarding to monitor with a single camera, since both concentrate predictable activity into a small, well-lit area.
What Height and Angle Work Best for Cat Cameras?
Height and angle decide whether you get a clear view of your cat’s face or just a blurry tail disappearing off frame. Mounting a camera off the ground at a moderate height and angling it slightly downward captures both floor-level movement and elevated behavior in the same shot, which is exactly what most indoor cats need since they split time between the couch and the cat tree.
Follow this order when you set up:
- Pick a mounting point between four and six feet high, roughly eye level for an adult standing in the room.
- Tilt the camera down slightly so the frame includes the floor near furniture, not just empty wall space.
- If you’re placing a second camera near a window, angle it from the side rather than straight on to cut down on glare.
- Stagger heights across multiple cameras so one catches floor-level play and another catches the top of a tower or shelf.
For mounting hardware, a wall bracket gives the steadiest shot and keeps cords out of paw range. A shelf placement works if the shelf is stable and won’t wobble when your cat jumps nearby. Gooseneck or adhesive mounts are fine for lighter cameras, but check the weight rating before you trust one over a hardwood floor.
Pro Tip: Test the angle at night before you finalize placement. Daytime footage almost always looks fine, but night vision performance changes dramatically depending on distance and reflective surfaces in the frame.
What Placement Mistakes Hurt Cat Camera Footage?
Bad placement is usually the reason a $150 camera produces useless footage, not a hardware problem. Positioning cameras at cat eye level or slightly elevated, while avoiding direct sunlight and glare, solves most of the common complaints owners run into after their first week.
Watch for these issues when you’re choosing a spot:
- Bright windows and reflective glass wash out footage with backlight, turning your cat into a silhouette instead of a visible subject.
- Loose or exposed cords are an easy target for teething kittens and curious adults alike. Use cord covers and route cables along baseboards or behind furniture.
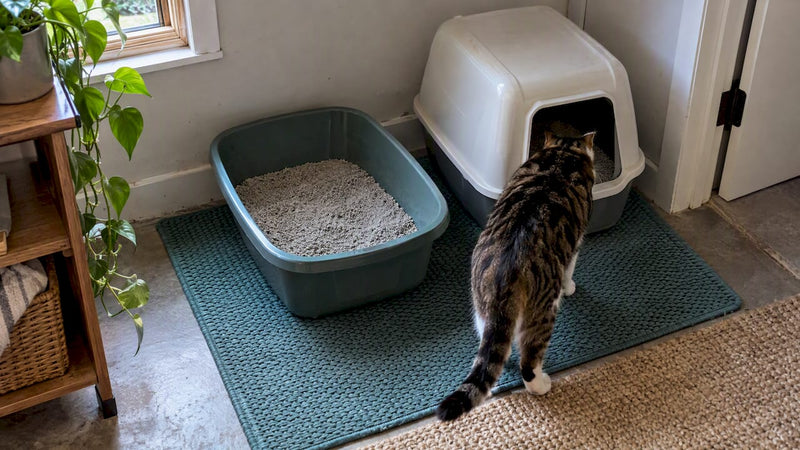
- Litter box zones and splash areas near water bowls are poor camera spots, both for lens damage and for basic dignity.
- Bathrooms and other private spaces deserve a hard pass, for your cat’s routine and for anyone else living in the house.
- Loose mounts near jumping paths can get knocked down by a cat mid leap, so anchor hardware securely rather than relying on adhesive alone in high traffic zones.
If other people share your home, tell them where cameras are pointed, especially if any camera has a view into a shared living space. A quick heads up avoids awkward surprises later and keeps the setup focused on your cat, not on monitoring housemates.
How Many Cameras Do You Actually Need?
One camera is enough for a single activity room, like a studio apartment or a cat that mostly lives in one part of the house. Testing camera placement in the room first, then scaling up to two or three cameras works well for homes with multiple high-activity spots, like a feeding area downstairs and a favorite window perch upstairs.
If you’re working with a limited budget, prioritize in this order:
- The feeding station first, since meal times are consistent and easy to check for appetite or behavior changes.
- The favorite resting spot second, because it tells you the most about comfort and daily routine.
- A high perch or cat tree third, once you’ve confirmed the first two zones are covered well.
Overlapping fields of view helps more than most people expect. Many owners start with a single camera and add more after a short test period, which reveals blind spots you wouldn’t catch just by guessing. Staggering camera heights across a room, one low for floor play and one high for climbing, catches vertical and ground-level activity without wasting a second camera on redundant coverage.
Which Camera Features Matter for Your Placement Plan?
Your placement choices should drive which features you shop for, not the other way around. A camera aimed at a shaded corner or a dim hallway needs strong low-light performance, while one covering a bright, high-traffic room might not.
Match features to your setup with this checklist:
- Night vision matters most for shaded perches, hallways, and any room your cat uses after dark. Testing night vision in actual dark conditions, not just dim daylight, reveals whether a camera’s low-light claims hold up.
- Pan/tilt versus fixed wide-angle comes down to your layout. Pan/tilt models help scan vertical territory in homes with tall cat trees, while a fixed wide-angle lens gives steady, continuous coverage of a single busy zone.
- Two-way audio and treat dispensers add interaction if you want to check in during the workday, though they matter less for pure observation setups.
- Motion and animal detection cuts down on false alerts from shadows, sunlight shifts, or a ceiling fan, which saves you from a flooded notification feed.
- Local storage versus cloud subscriptions affects both cost and privacy. Local storage avoids a recurring subscription bill entirely, which some owners find gives them more peace of mind.
A feeder with a built in camera can simplify this whole decision for the feeding zone specifically, since the mounting and framing problem is already solved by the product itself.
How Do You Set Up and Test a Cat Camera Before Trusting It?
A quick test period catches problems before they become permanent annoyances. Walk through this checklist once your camera is roughly in place:
- Mark your intended zones with tape and confirm Wi-Fi signal strength at that exact spot, not just nearby.
- Pull up the live feed and check the actual angle. Adjust the mount if the frame cuts off too much floor or ceiling.
- Confirm night vision quality after dark and set motion sensitivity so it triggers on your cat, not on passing shadows.
- Run the setup for three to seven days, watching for false alerts, missed footage, or blind spots you didn’t notice at first.
Sticking to a 2.4GHz connection instead of a 5GHz-only network reduces disconnections for many pet cameras, especially in homes with thick walls or a router that’s far from the mounting point.
Pro Tip: Don’t judge a placement after one day. Cats behave differently once the novelty of a new gadget wears off, so give it a full week before deciding a spot isn’t working.
Why Furniture Placement Comes Before Camera Placement
Some teams spend most of their time thinking about where cats actually want to be, which turns out to be the exact question every camera buyer needs answered first. Our curation focuses on furniture that creates a predictable spot for climbing, resting, or eating, because that predictability is what makes a camera worth mounting in the first place.
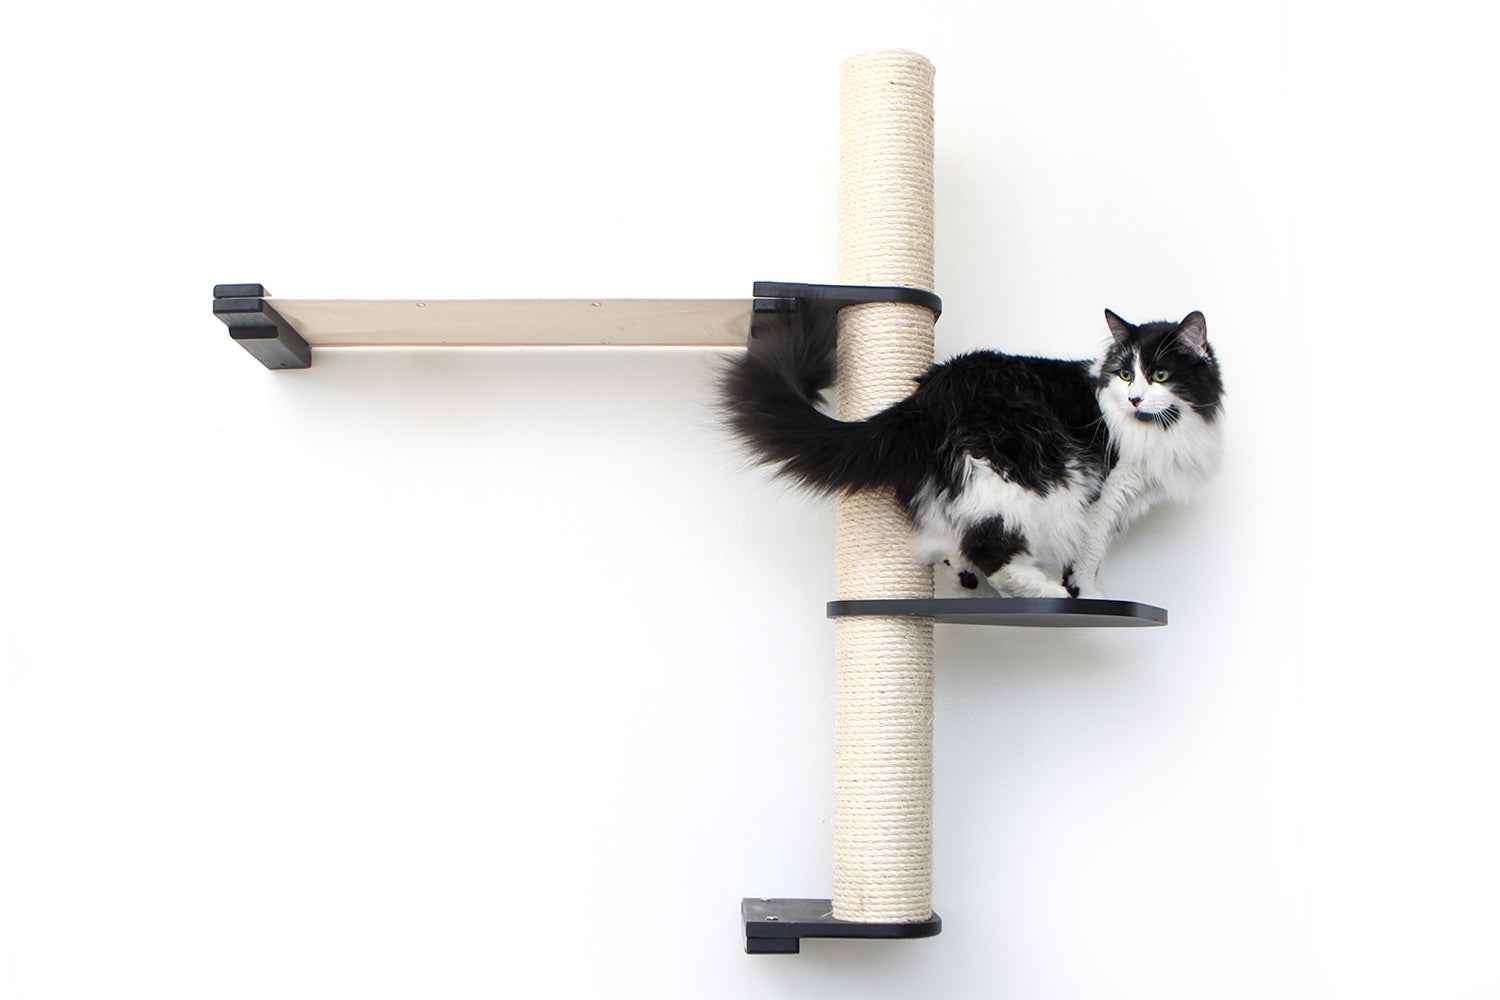
A tower or wall perch gives your cat a reason to return to the same spot daily, which turns your camera from a gadget pointed at empty carpet into a window on real behavior. A portion of every order supports cat rescue organizations, so the furniture that makes your camera setup work also does a little good beyond your own living room.
Should You Monitor Outdoor Cats the Same Way?
If your cat has outdoor access through a cat door, patio, or supervised yard time, outdoor monitoring changes several of the rules that apply indoors. Weatherproofing becomes non-negotiable. A camera rated for indoor use only will fail fast against rain, humidity or direct sun exposure, so check the manufacturer’s rating before mounting anything outside.
Glare gets worse outdoors, not better. Direct sunlight at certain times of day can wash out footage completely, so an angle that works fine at 10 a.m. might be useless at 4 p.m. when the sun shifts. Mounting under an eave or overhang helps control this without blocking the field of view.
Motion detection also needs a wider exclusion zone outdoors, since wind-blown branches, passing cars, and neighborhood wildlife all trigger false alerts far more often than anything happens indoors. Night vision range matters more too, since outdoor spaces are usually larger than a single room and darker without ambient household light.
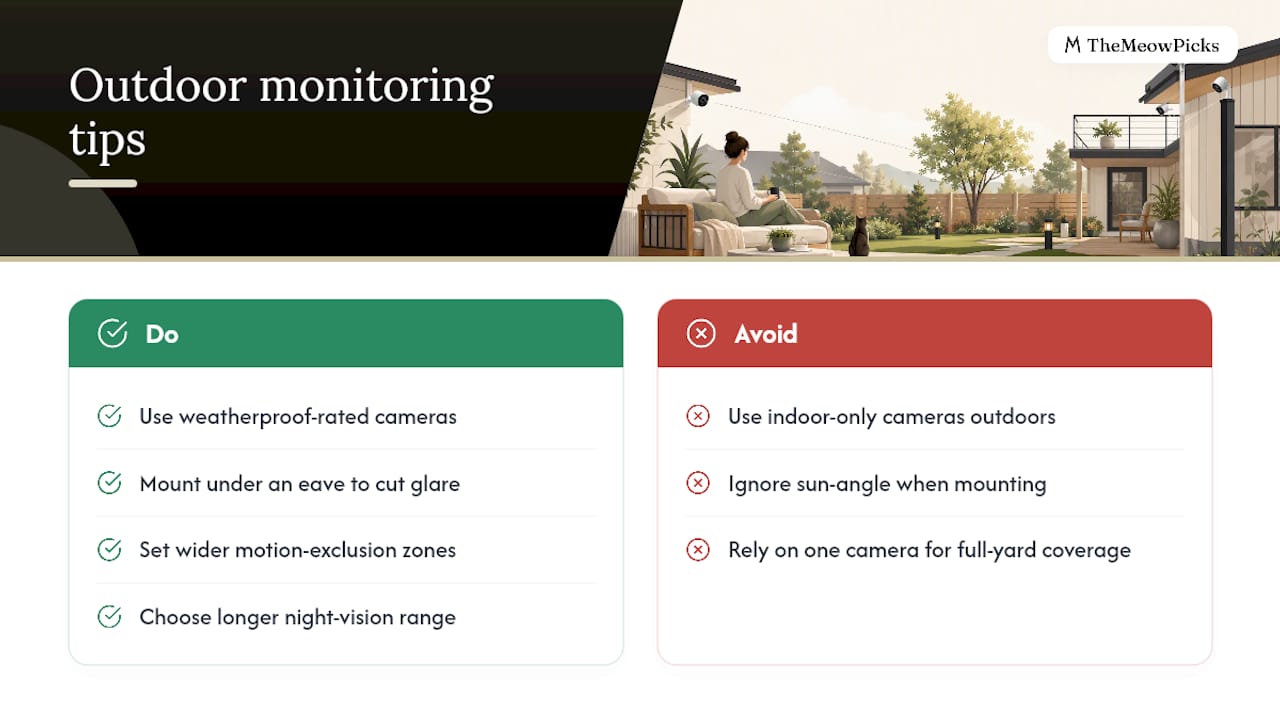
If your cat roams a fenced yard or catio, a single wide-angle camera covering the main access point (the door or cat flap) usually gives you the most useful information: when your cat goes out, when they come back, and roughly how long they were gone. Full-yard coverage requires the same overlapping-camera logic as a multi-room indoor setup, just built for tougher conditions.
What Privacy Rules Apply to Indoor Cat Cameras?
Cameras aimed at your cat can still capture other people, and that’s where privacy considerations start to matter. Any camera with a view into a shared living space, a guest room, or an entryway will pick up whoever walks through that frame, not just your cat.
Tell roommates, partners, or family members where cameras are pointed and what they record. This isn’t just polite; it avoids the uncomfortable situation of someone discovering a camera they didn’t know existed. If you have a cleaning service, pet sitter, or regular visitors, the same courtesy applies. A quick heads up before their first visit prevents an awkward conversation later.
Bathrooms are an obvious no. Bedrooms deserve real thought too, especially if the “cat monitoring” camera also happens to catch a bed, closet, or anywhere someone changes clothes. If your cat’s favorite nap spot happens to be on a guest bed, consider whether the footage trade off is worth the privacy cost, or whether a different sleeping spot works just as well for monitoring purposes.
Cloud storage adds another layer to think about. If footage uploads to a company’s servers, read what that company’s retention and access policy actually says before you assume it stays private indefinitely. Local storage options sidestep this concern by keeping footage on a device in your home rather than off site.
Does Camera Type Change Based on Where You’re Placing It?
Wide-angle and zoom lenses solve different problems, and picking the wrong one for a given spot is a common reason placement fails even when the height and angle are correct.
Wide-angle cameras work best in small to medium rooms where you want to see most of the space in one frame, like a studio apartment or a single cat tree setup. They sacrifice detail at a distance for broad coverage, which is the right trade off for a feeding station or a compact nap area where your cat stays close to the lens.
Zoom or pan/tilt cameras earn their keep in larger rooms or open floor plans, where a fixed wide shot would leave your cat as a tiny, indistinct shape in the corner of the frame. Pan/tilt models let you scan vertical territory across a tall cat tree or a room with multiple furniture pieces, following movement instead of hoping your cat stays in one fixed spot.
For a hiding or shy cat, a wider, calmer angle placed a bit farther back tends to capture more natural behavior than a zoom lens pushed in close, since cats often freeze or retreat further when a camera looms directly over their hiding spot. If you’re monitoring a nervous cat’s hideaway, back off the lens rather than zooming in tight.
What Do Most Cat Owners Get Wrong About Camera Placement?
The most common mistake isn’t a bad camera. It’s skipping the test phase entirely and mounting straight to a permanent spot based on a guess. We see this pattern constantly: someone drills a bracket into a wall, discovers a week later that the angle misses half the room, and ends up patching a hole they didn’t need.
Ignoring Wi-Fi strength at the actual mounting point causes a close second wave of complaints, usually showing up as dropped feeds or delayed alerts right when you need them most. And unsecured cords sit quietly as a hazard until a curious paw finds them.
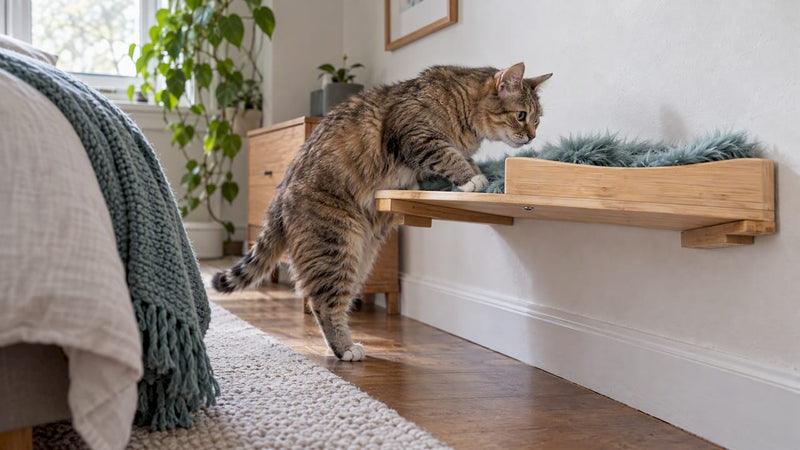
Our best quick win: use a wall-mounted perch or a mid-height shelf as your camera’s base instead of a random spot on drywall. It’s already stable, already at a useful height, and it usually sits right where your cat spends time anyway.
— TheMeowPicks Team
Which Products Make Camera Placement Easier?
Good camera footage starts with furniture that gives your cat a reason to be somewhere specific. Instead of guessing where to mount a lens, build a spot your cat actually wants to use, then point the camera there.
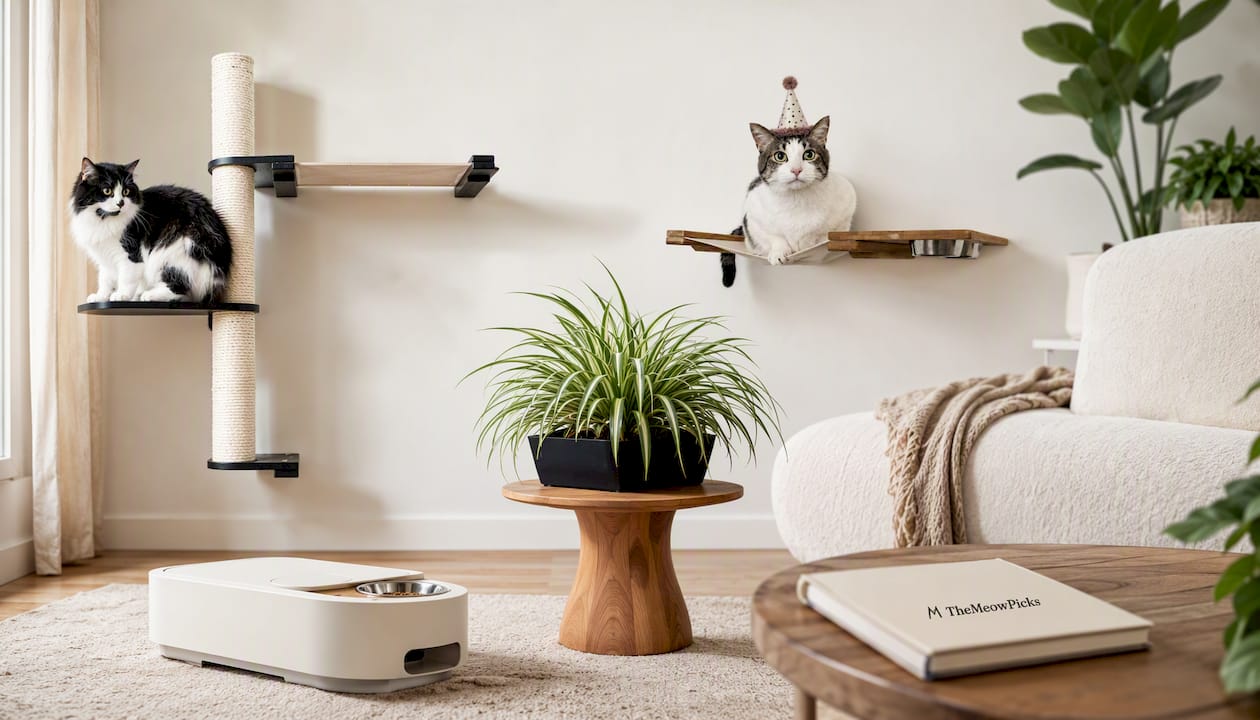
The Torre Cat Tower creates a tall, consistent vertical zone that’s ideal for pan/tilt coverage of climbing and lounging behavior. The Apawtment Cat House gives your cat a defined resting spot that turns a random nap location into a predictable, camera-ready zone. For feeding areas, the Dog Proof Cat Feeder and the Desco Cat Feeder with Porcelain Bowls both concentrate mealtime activity in a fixed, easy-to-frame location. Some purchases also put a portion of the order toward cat rescue organizations, so the furniture solving your placement problem does double duty. Browse the Torre Cat Tower product page to see if it fits your space before you commit to a mounting plan.
Sources
- Pet Monitoring Camera Placement Tips for Cats & Dogs
- How I set up the ultimate home cat monitoring system with Eufy cameras
- 7 Essential Cat Camera Tips Every Pet Owner Should Know
- Top‑Rated Cameras for Cats: How to Monitor Your Pet’s Secret Life
FAQ
What Is the 3-3-3 Rule for Cats?
The 3-3-3 rule describes a general adjustment timeline for a new cat: roughly 3 days to start decompressing, 3 weeks to settle into a routine, and 3 months to feel fully at home. It’s a helpful frame for deciding when to expect settled, camera-worthy behavior from a recently adopted cat rather than the nervous first-week version.
Can Cats Tell When You Point a Camera at Them?
Cats notice new objects in their environment, including a camera’s shape, sound, or an LED light, but there’s no evidence they understand it as “being watched” the way a person would. Most cats adjust to a stationary camera within days once it stops being a novel object.
Is It Legal to Put a Camera on a Cat?
Cameras placed inside your own home to monitor your own cat raise no legal issues in the United States. Wearable cameras or collar cameras used outdoors can raise local leash law or wildlife concerns in some areas, so check municipal pet ordinances before letting a camera-equipped cat roam unsupervised outside.
How Do I Put a Camera on My Cat?
A wearable cat camera typically attaches to a breakaway collar or a lightweight harness designed to sit securely without restricting movement. Choose a camera light enough that your cat doesn’t paw at it, and introduce it gradually rather than strapping it on for a full outdoor session right away.